Think about some of the food traditions we enjoy so much at Christmas time: eggnog, candy canes, wassail, panettone, stollen, syllabub, homemade tamales, fruitcake, roast goose, figgy pudding. Certainly one of the most remarkable of these holiday foods is the bûche de Noel, or Yule log.
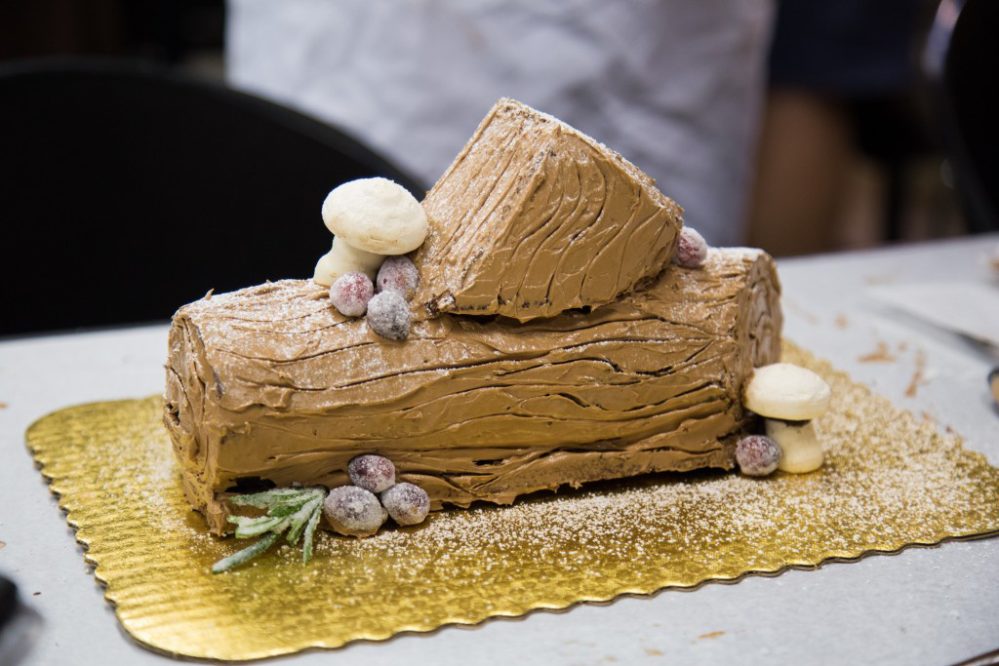
The Yule log is a complicated confection made of rolled and filled génoise (or sponge cake) and frosted with chocolate buttercream. It’s decorated to resemble a fallen log in the forest, so it may have meringue mushrooms, marzipan holly sprigs, powdered-sugar snow, sugared rosemary (to resemble pine fronds) and spun sugar cobwebs.
The history of the Yule log goes back many centuries and probably came from the ancient Celts and European Gaels who welcomed the winter solstice by burning a large ceremonial log overnight. The log, decorated with holly, ivy and pinecones, was thought to cleanse the air of the previous year’s events and prepare a clean slate, if you will, for the gradual return of the sun. Eventually the real log evolved into a symbolic log. And at some point, probably during the 19th century, the French made it an edible log.
Making a Yule log is complicated – happily, you can purchase one at better bakeries around town, including at Central Market – but we wanted to try our hand at it anyway. So, earlier this week, my daughter Taylor Byrne Dodge and I enrolled in Central Market’s Cooking School to learn to make a bûche de Noel ourselves.
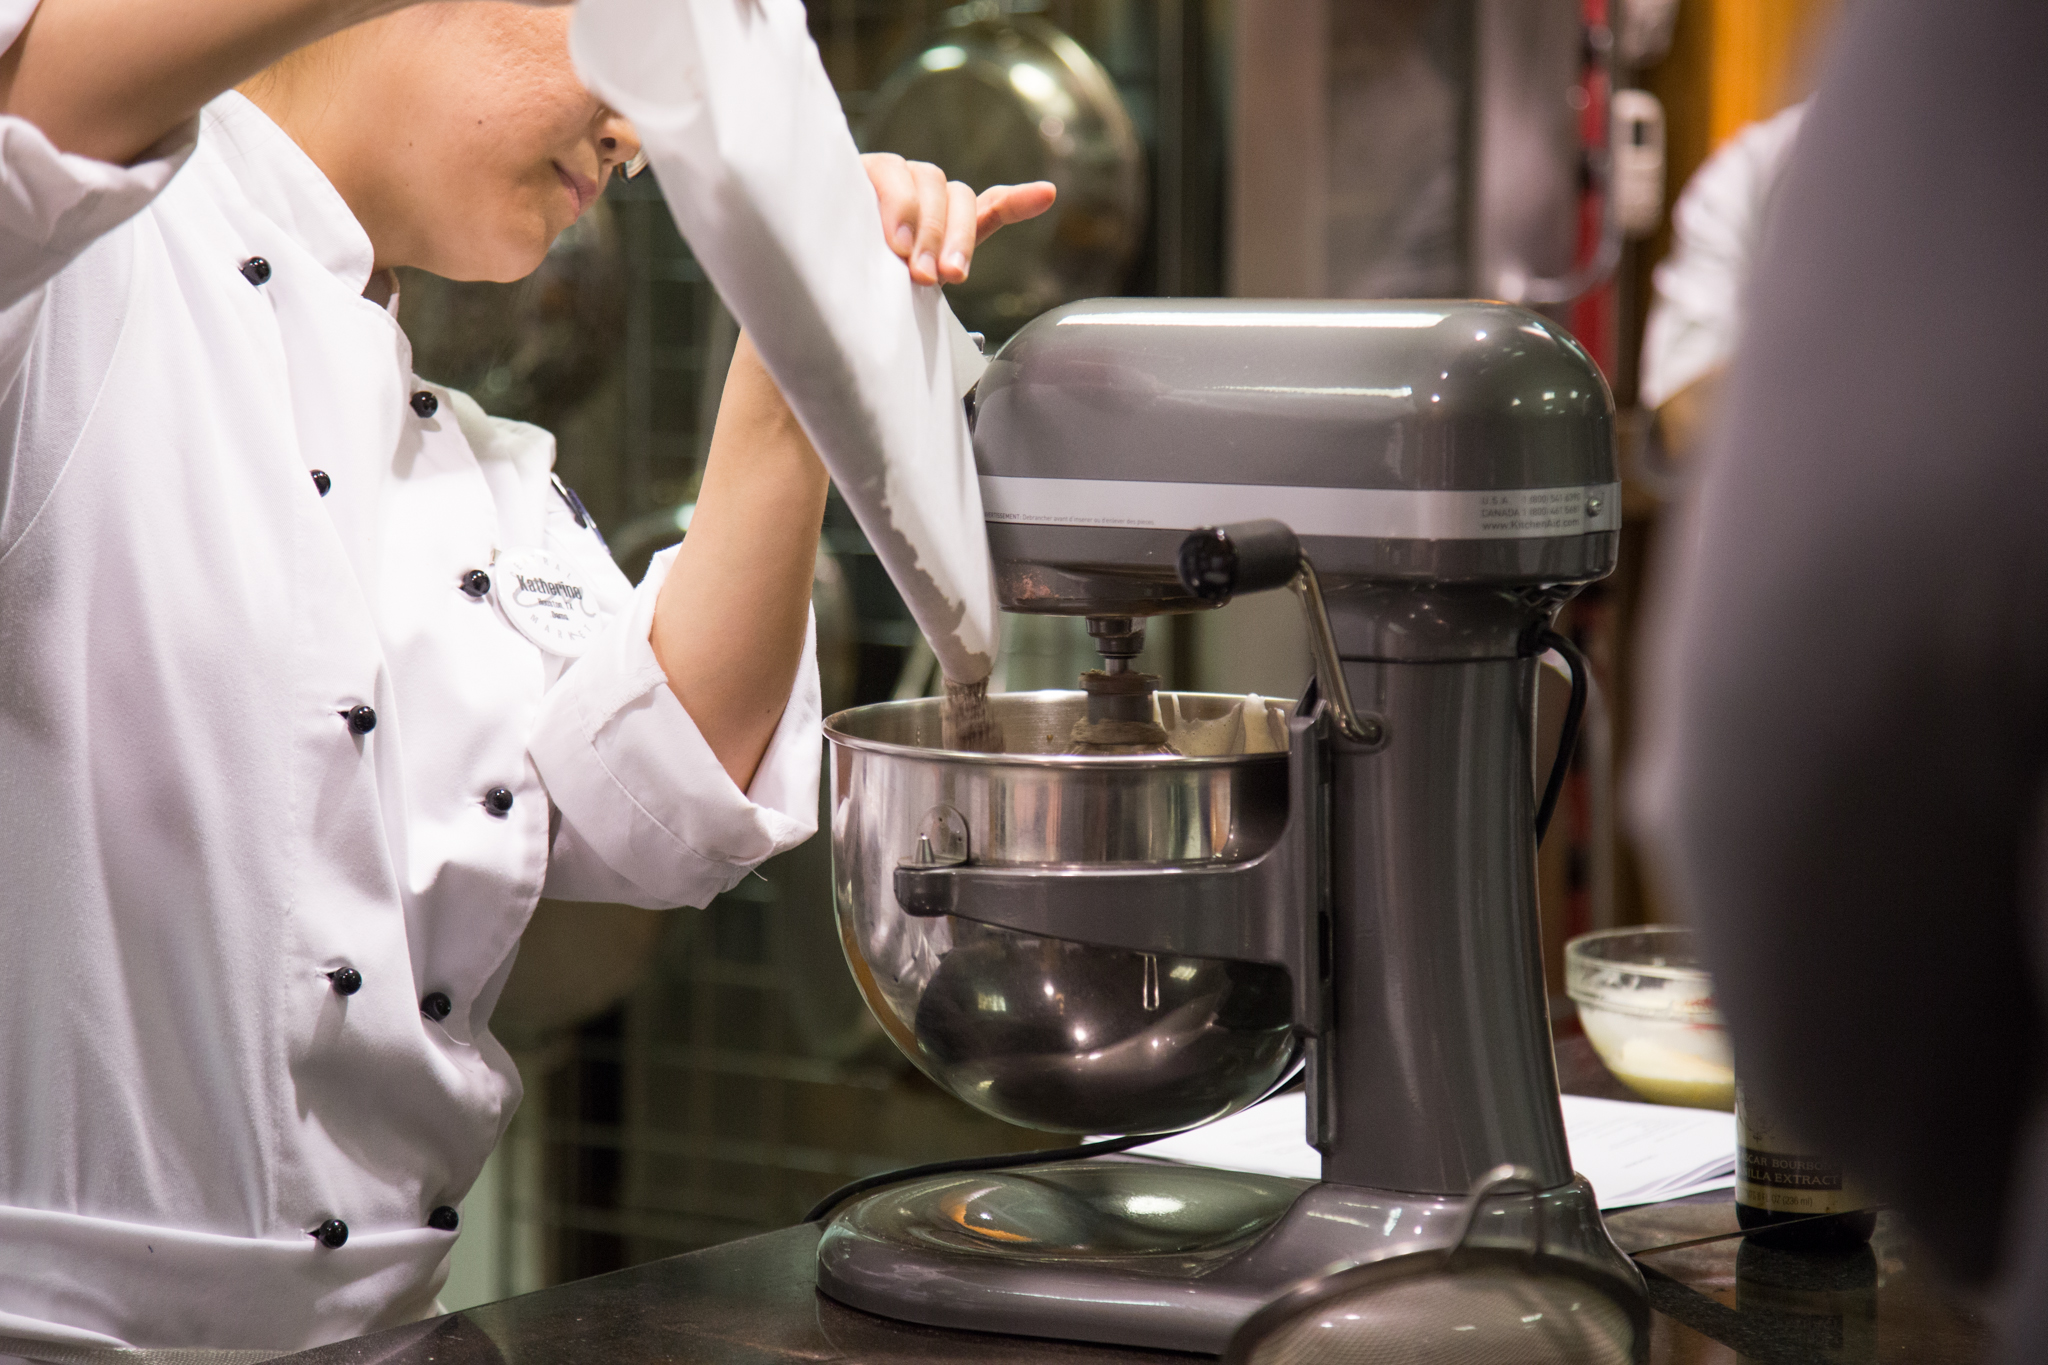
Preparing everything for the final Yule log assembly would have taken an entire day, so we were grateful that our cooking school instructors Katherine Joe and Asten Branecky showed us how to make the genoise/sponge cake, chocolate buttercream frosting and meringue mushrooms but had sensibly already made enough ahead for the class’s dozen students to get started with the fun part.
I’ve included the recipes for the cake and frosting below (scroll down). But let’s skip ahead to some tips for assembly.
• Remove the parchment paper from the bottom of the cake when it’s cool enough to handle. Trim away the crispy edges from the slightly warm cake and roll it up with a fresh piece of parchment paper on top. The parchment will be inside the roll. You can roll it the long way (for a long skinny log) or the short way (for a stout log). You’re giving the cake a “memory” for being rolled. After the cake is cool, gently unroll it and remove the parchment paper. Spread buttercream frosting over the top of the cake. Then roll it back up.
• Cut four strips of parchment paper and place these frame-style on your final presentation surface (a platter or board, for example), leaving an exposed opening in the middle. Use some frosting as glue and set your log in the middle of the “frame.” You’ll remove the strips of paper when the decorating is complete in order to leave a clean surface around your cake.
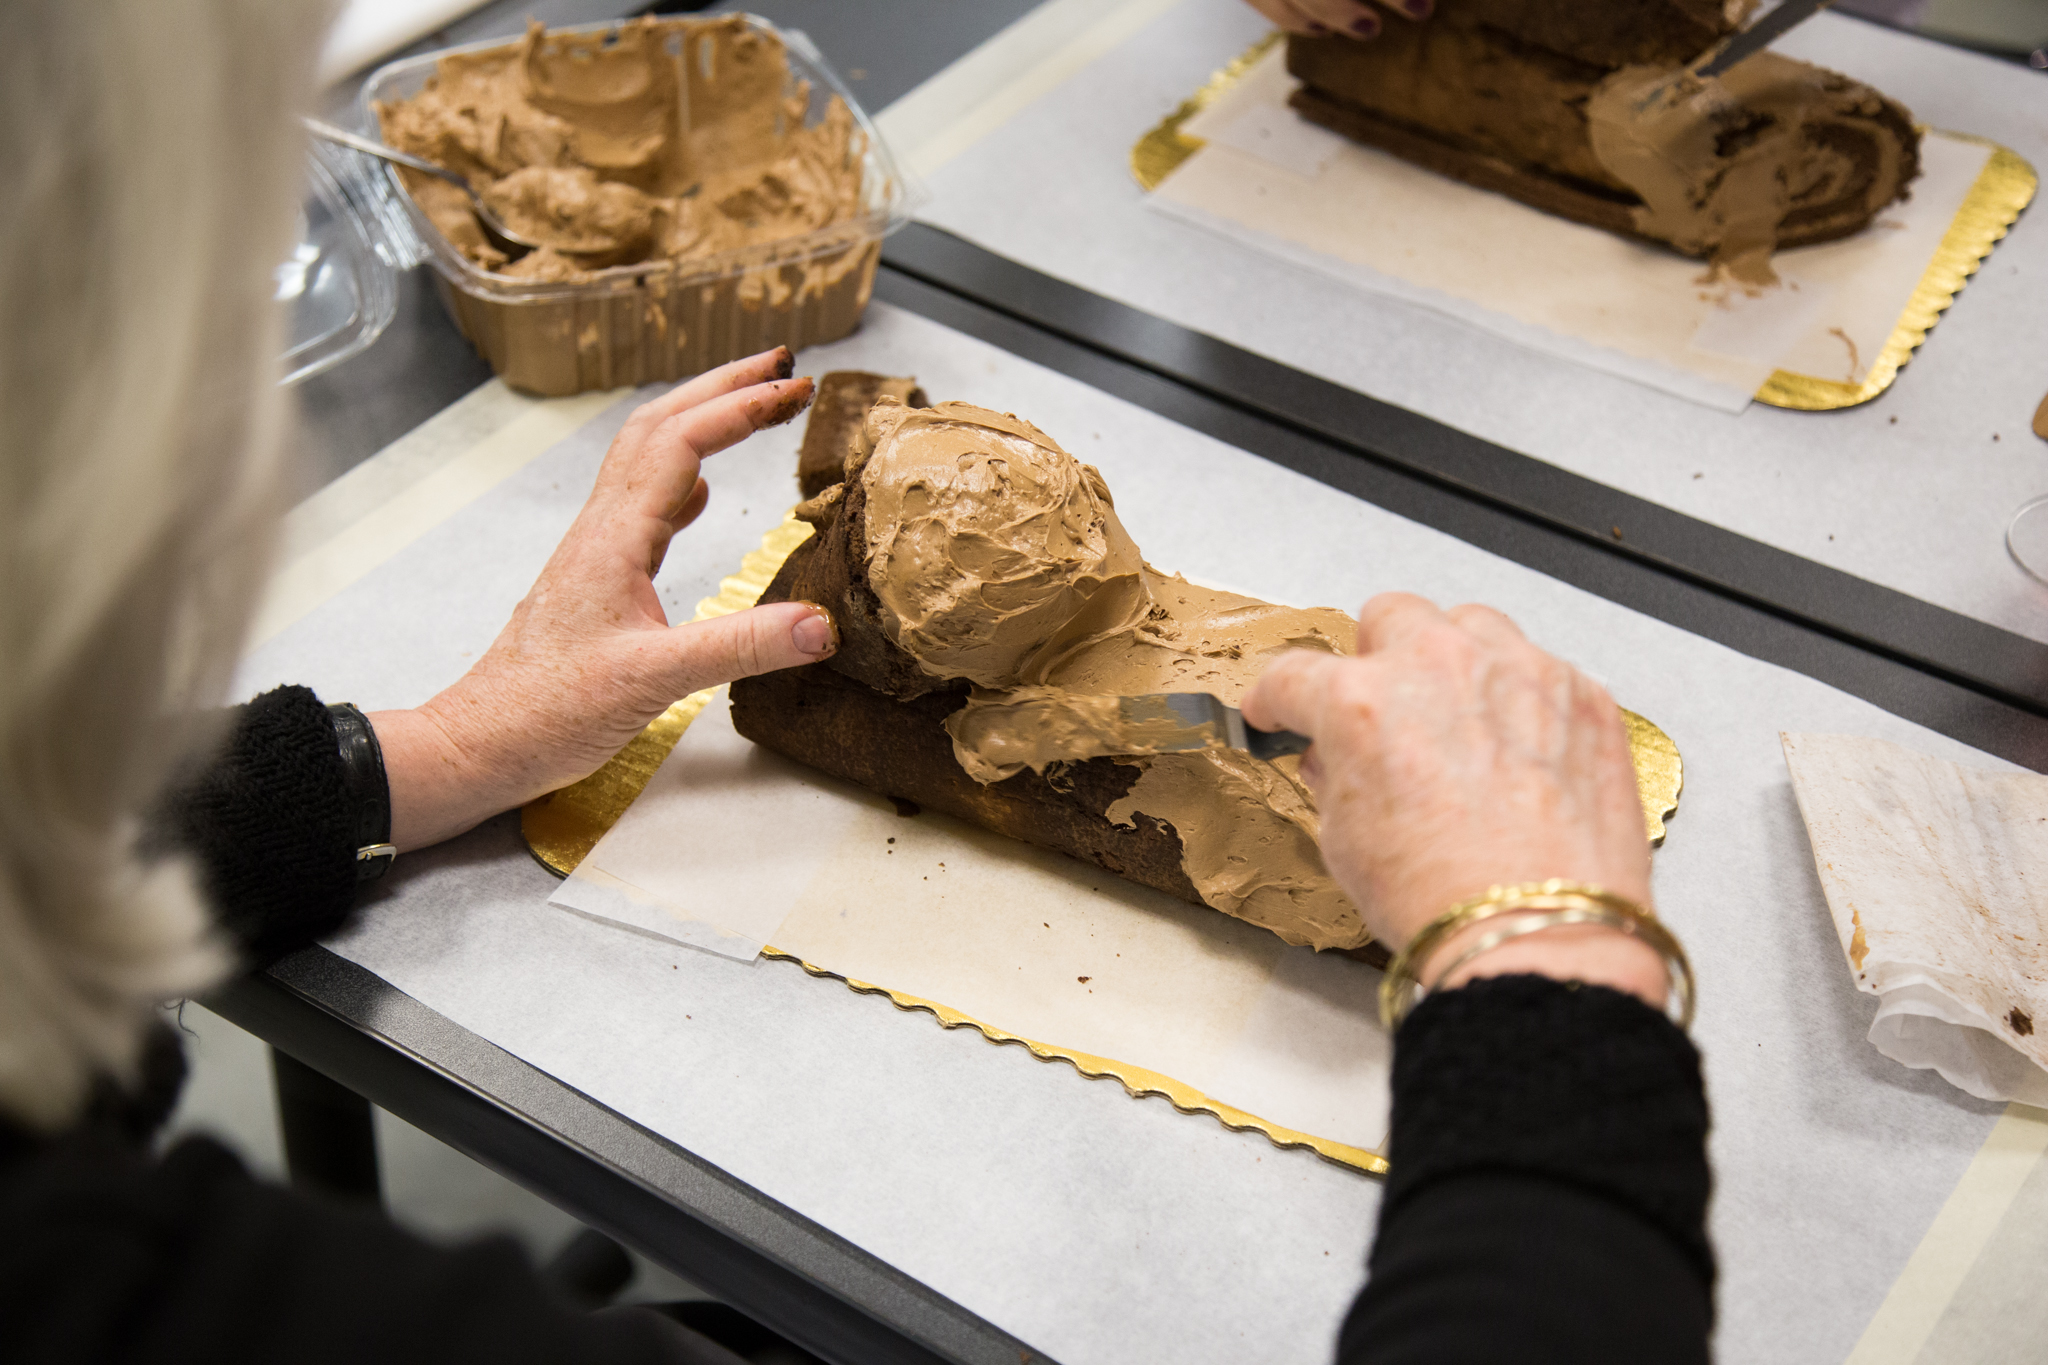
• If you like, cut off one end of the cake log at an angle and, using a blob of frosting, attach it to the main log so it resembles the crook of a branch. You’ll find that the frosting is your glue for everything, including sticking on the decorations.
• Frost the entire cake. You can frost or not frost the whorled end of the log. Some bakers like to leave it open to reveal the cake inside. Drag a fork or wood skewer through the chocolate frosting to make a pattern that looks like tree bark.
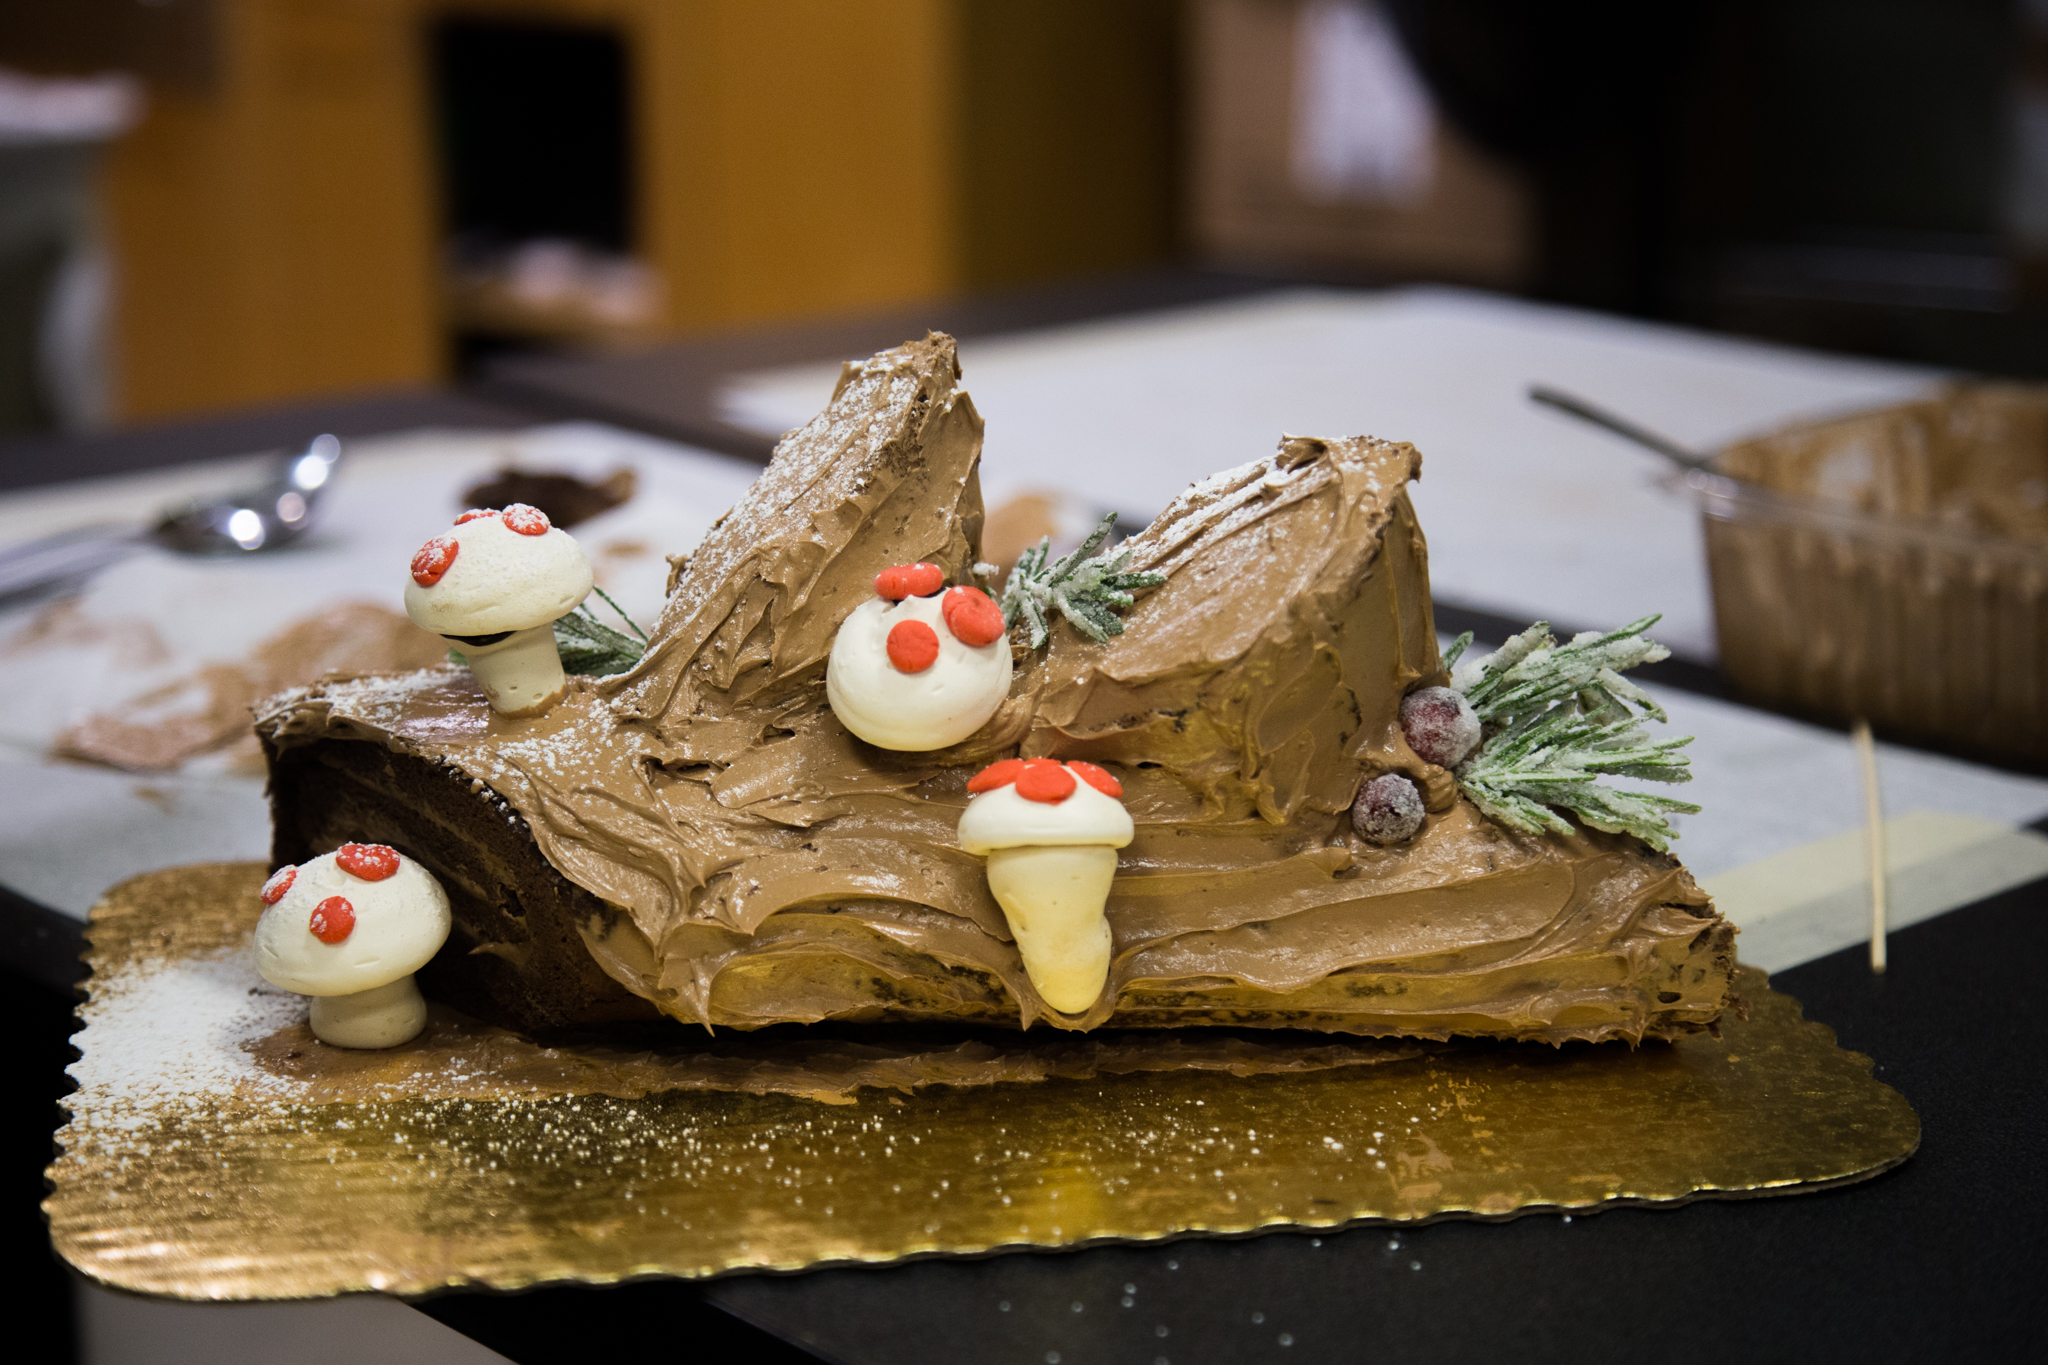
• Have fun adding meringue mushrooms (here’s a how-to video for making them) and other decorations. Among the easiest decorations to make are sugared cranberries and rosemary: Make a simple syrup and allow to cool. Drop in the cranberries and stir to coat completely. Remove them, a few at a time, and drop them in superfine (not powdered) sugar. Place on parchment paper and allow to dry completely. Repeat the process with sprigs of rosemary.
• Use powdered sugar and a sieve to add “snow” on your log.
• The Yule log will keep in the fridge for about four days.
GÉNOISE
This is the cake for the bûche de Noel or Yule log.
4 Tbsp. (½ stick) butter
¾ cup unbleached all-purpose flour
¼ cup Dutch processed cocoa powder
½ tsp. salt
1 cup sugar
1 tsp. vanilla
METHOD: Preheat oven to 350 degrees and adjust the oven rack to the middle position. Lightly oil a half-sheet pan and line it with parchment paper.
Melt the butter in a small saucepan over low heat or in microwave. Remove from heat and set aside. Sift flour, cocoa and salt together onto a large piece of parchment. Repeat sifting once more. Set aside.
Whisk together the eggs and sugar in the bowl of a standing mixer until combined. Place the bowl over a pan of barely simmering water, making sure that the water does not touch the bottom of the bowl, and heat the egg mixture. Whisk the egg mixture constantly until warm to the touch, about 110 degrees on an instant-read thermometer. Remove from the heat and beat at medium-high speed until the eggs are pale, cream color, voluminous and form a thick ribbon of tiny bubbles that falls from the whisk and rests on top of the batter for several seconds when the whisk is held about 4 inches above the egg mixture (around 6 to 8 minutes). Beat in the vanilla. Turn off mixer.
Transfer about 1 cup of the mixture to a medium bowl and stir in the melted butter until well combined. Set aside.
Grab two ends of the parchment paper with the flour mixture and, with the mixer running at the lowest speed, slowly add the flour. Gently mix just until barely incorporated. Add the melted butter mixture back to the batter and mix, still running at the lowest speed. Be careful not to overbeat and deflate the batter.
Immediately push the batter from the bowl into the parepared pan with a rubber spatula, holding the bowl close to the pan. Smooth the top with an offset spatula. Work out any visible air bubbles so they don’t pop while baking and create holes. Lift the pan about 6 inches off your countertop and drop it, once, to break up remaining bubbles. Bake the cake about 12 to 15 minutes, or until it springs back when pressed with a finger. Transfer to a wire rack and cool until you can handle it. See tips above for rolling and decorating.
CHOCOLATE BUTTER CREAM FROSTING
This super-light frosting recipe is adapted from Baking Illustrated by the editors of Cook’s Illustrated Magazine.
4 large eggs
1 cup sugar
2 tsp. vanilla
pinch of salt
1 lb. (4 sticks) unsalted butter, softened but still cool, each stick cut into quarters
8 oz. bittersweet (not unsweetened) chocolate, melted and cooled
METHOD: Combine eggs, sugar, vanilla and salt in the bowl of a standing mixer. Place the bowl over a pan of simmering water, making sure the water does not touch the bottom of the bowl. Whisking gently but constantly, heat the mixture until it is thin and foamy and registers 160 degrees on an instant-read thermometer.
Place the bowl on the mixer and beat the egg mixture at medium-high speed until light, airy and cooled to room temperature, about 5 minutes. Reduce the speed to medium and add the butter, one piece at a time. (After adding half the butter, the buttercream may look curdled; it will smooth out with additional butter.) Once all the butter is added, add the chocolate gradually. Beat about 1 minute until light, fluffy and thoroughly combined. The buttercream can be covered and refrigerated up to 5 days. (Re-beat it before using.)


Follow Us