A few years ago I was a 20-something female addicted to Pinterest. I pinned workout routines and jewelry, DIY projects and under-300 calorie recipes. I made boards organized by color, theme, goals and recipes, often until 3 in the morning. I suffered from insomnia and was not getting a lot of sleep. After removing the app from my phone, my Pinterest Problem solved itself, and I was once again a well-rested young woman.
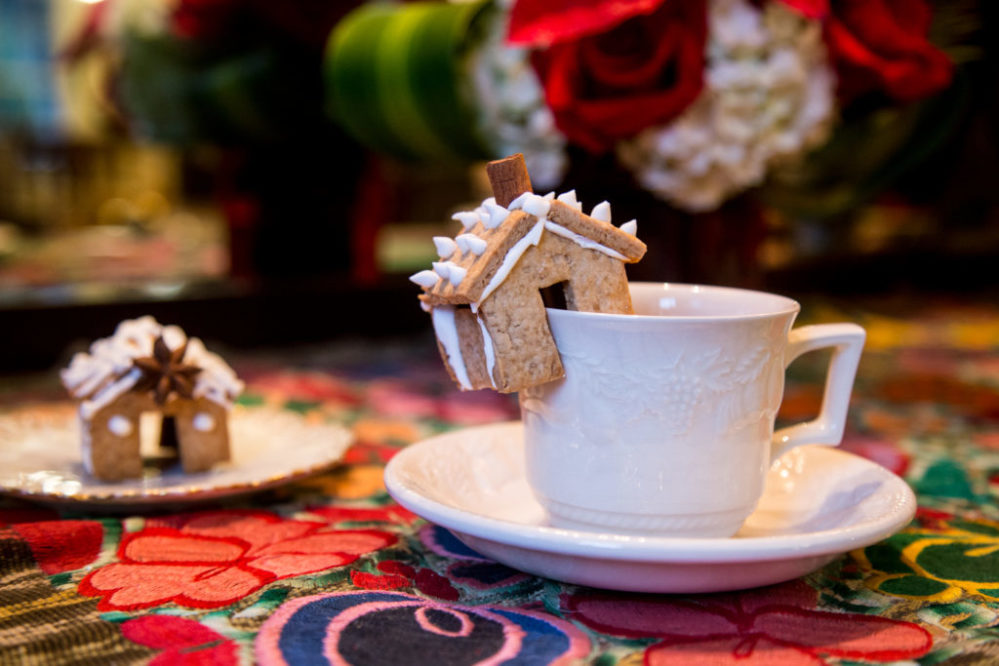
I still occasionally look to Pinterest for inspiration – really, I can handle it! – and last week I stumbled upon a post from HonestlyYUM through a dark rabbit hole on the worldwide web. But since kicking the Pinterest habit in 2012, I apparently missed out on the miniature gingerbread house trend. Yes, for the past three years, this has been a craft for people who want to spend their time making tiny adorable and edible houses for nobody to actually eat, just merely perch on their mug of cocoa or top on their picture-perfect cake for Instagram bragging rights.
I once struggled, cried and tearfully destroyed a dog-friendly doghouse I attempted to make out of Milk-Bones, so I thought to myself, “What a wonderful way to remind myself that making edible houses is a trip down memory lane I’d probably not want to ever recall.” After clicking through multiple articles about these wee little baked residences, I set aside valuable work time and dedicated it to documenting what I was sure would be my imperfect attempt at a Pinterest project – an effort known widely as a Pinterest Fail.
GINGERBREAD
Recipe courtesy of HonestlyYUM as inspired by Not Martha
3 1/3 cup all purpose flour
1 tsp. cinnamon (next time I’ll also use 1/2 tsp. of ground clove or nutmeg)
3/4 tsp. ground ginger (I used recently purchased ground ginger, but I could barely taste ginger)
1/4 tsp. salt
1/2 cup plus 2 Tbsp. brown sugar (I used light, next time I’ll use dark)
3/4 cup corn syrup (next time I’ll use dark corn syrup)
1/2 cup margarine (I used butter)
*Note: if you like the look of a darker gingerbread house, use dark brown sugar and dark corn syrup.
METHOD: Stir dry ingredients together in a large bowl.
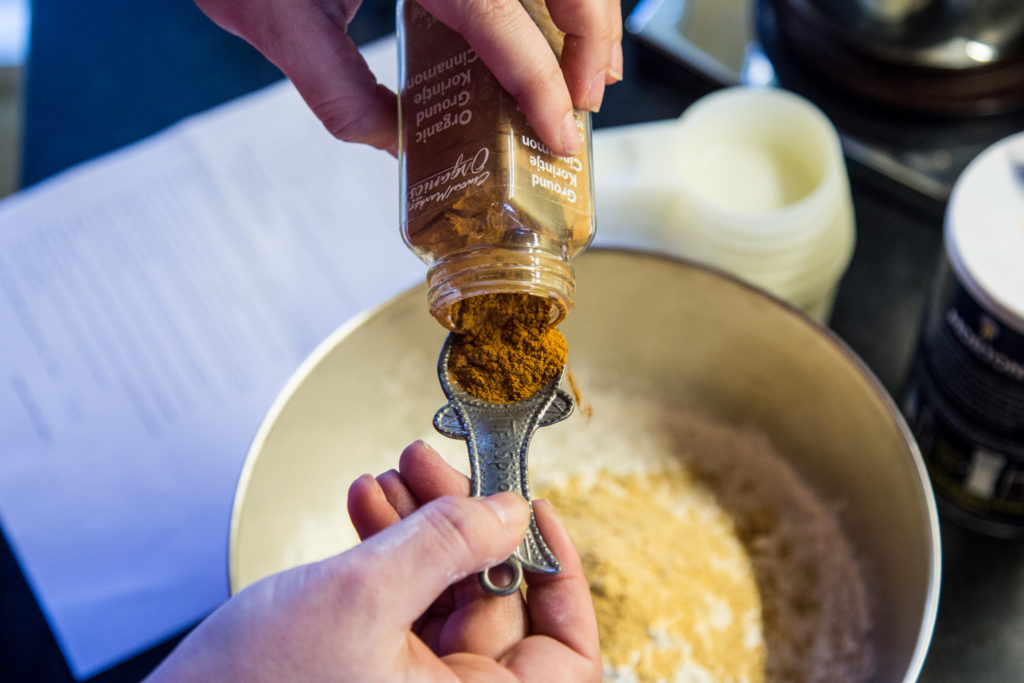
I learned in Montessori school that you’re not supposed to measure ingredients over the bowl into which you’ve already put other ingredients, yet I did so … and it has been documented.
Combine corn syrup, brown sugar and margarine (or butter) in a saucepan. Stir constantly over medium heat until margarine (or butter) is melted. Stir liquid into flour mixture. Mix well using hands until dough becomes stiff. Chill dough for half an hour.
Note: The stuff on the stove comes to a boil really quickly. Be ready – this isn’t the time to go to the fridge for a snack. Additionally, it wasn’t clear to me when reading and re-reading the recipe I used if I was supposed to mix all dry ingredients together (which it said) with the exception of the brown sugar (isn’t that a dry ingredient?), which I then read was supposed to cook with the corn syrup and butter, or what. So, I mixed most of the brown sugar into the dry ingredients, and the rest of it went into the pot, then I combined it all. (Boiling butter-corn syrup is super hot so if you’re using your hands to mix the dough, allow it to cool for a few moments before you dig in. I tried mixing with a spoon, but the the dough was not happy. I then used my hands. The dough felt like kitty litter, not dough. It felt all wrong.
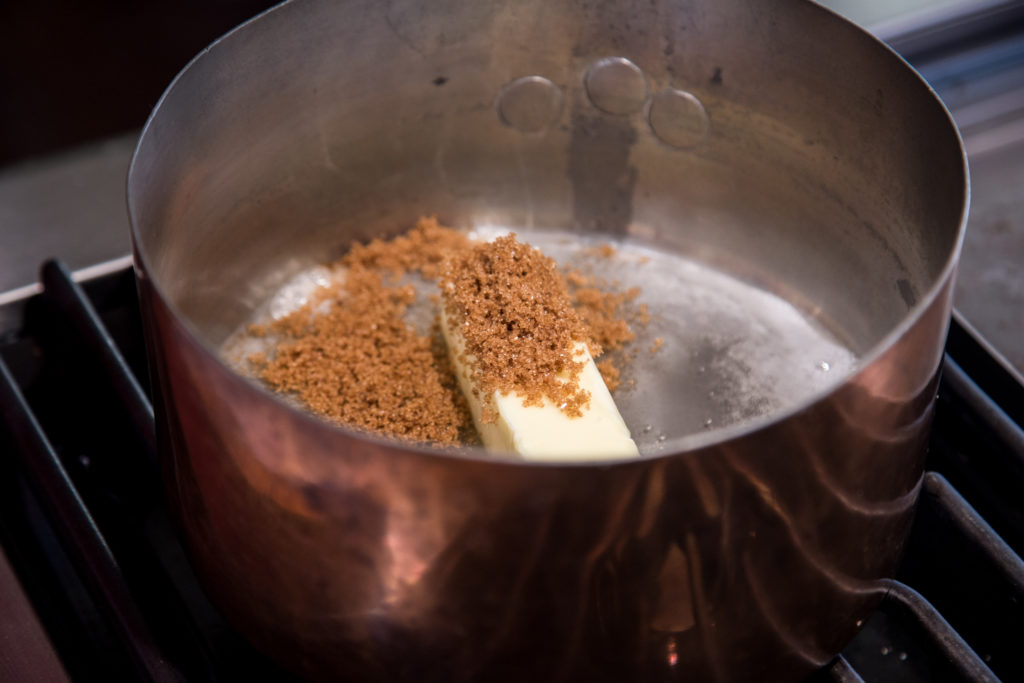
I don’t do margarine. I understand that some recipes call for it and it is necessary for the correct outcome of some things when baking, but I still don’t want to buy it. So I used unsalted butter.
Roll dough to 1/8-inch thickness onto parchment paper. Using this template (courtesy Not Martha), cut into shapes. Bake for 12 to 15 minutes or until golden brown at 350°F. Let cool completely on a rack.
Note: The dough was super crumbly after 30 minutes in the fridge. I thought I had made some sort of mistake with the brown sugar. Or maybe this was the dough’s revenge for me deviating and using a stick of butter instead of the margarine. I had to really roll it out to get it to resemble cookie dough. Eventually it came together. It did not taste great. I had printed two of each of the stencils on cardstock, which I recommend instead of multi-purpose paper. Print and cut many more stencils if you’re making this project with kids or to actually serve; otherwise you’re taking a long time to reuse the same stencils again and again. I recommend having a small offset spatula handy for pulling the cut dough pieces away and putting them on the cookie sheet. My house pieces were browning and ready to go after 13 minutes of baking.
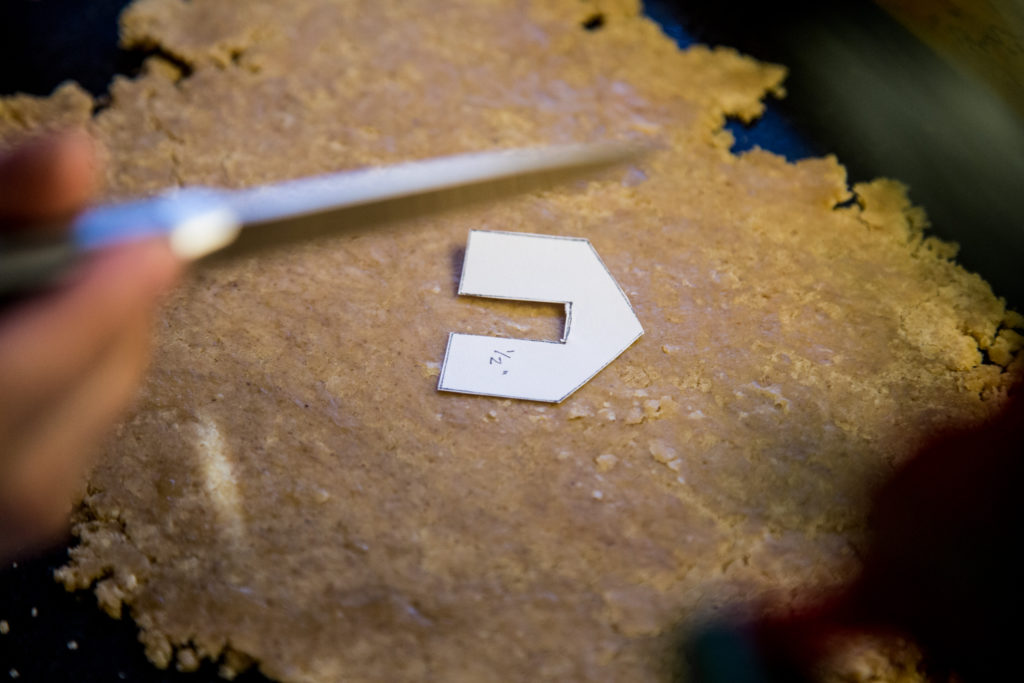
Note the dry, angry dough.
ROYAL ICING
1/2 lb. powdered sugar
2 egg whites at room temperature
1/8 tsp. cream of tartar
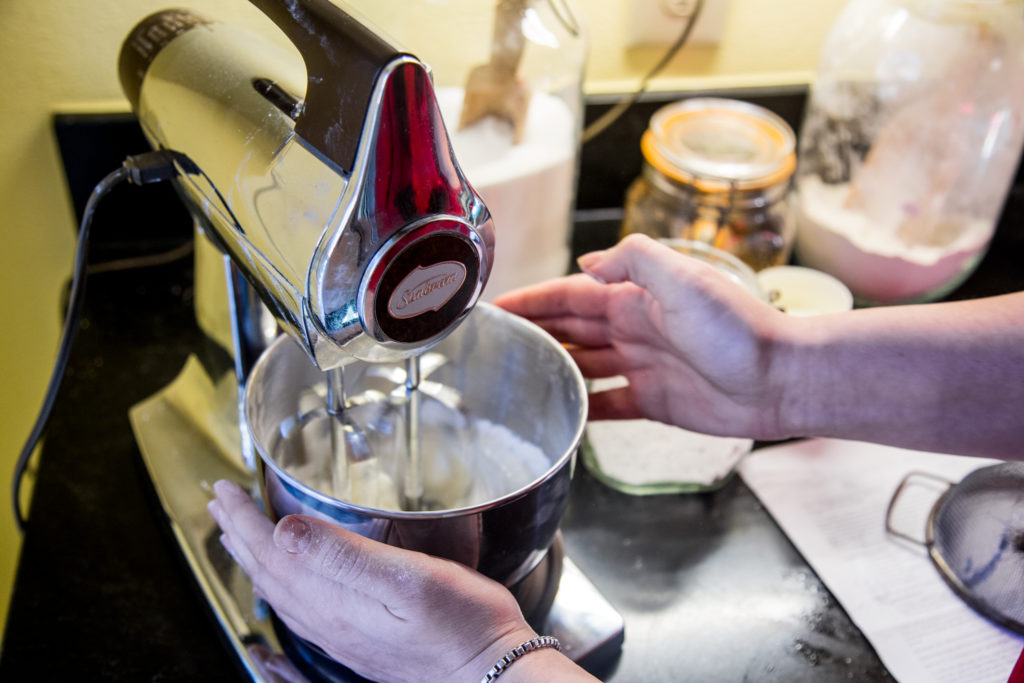
METHOD: Sift the sugar into a bowl or onto waxed paper. Place egg whites in the bowl of a mixer. Add sugar and cream of tartar to whites while mixing. When all sugar is incorporated, turn mixer on high and beat until thick and very white, about 5 to 7 minutes. Cover the icing with a damp cloth until you use it because it dries very quickly.
Note: If you don’t have a half pound of powdered sugar, use all the powdered sugar you have on hand and hope for the best. We made a half-batch of what this recipe creates because I misjudged the powdered sugar that my mom had available and added a dash of extra cream of tartar; it came out just fine. Additionally, her mixer is from 1978 and beat that frosting to the ideal consistency in 3 minutes. I know you, too, can wing it.
TO ASSEMBLE THE HOUSES Place icing into a piping bag with a small tip. (If you don’t have a piping bag, put the icing into a ziplock bag and snip a tiny bit off the corner.) Ice one side to the front piece and let it dry completely before assembling the rest of the house.
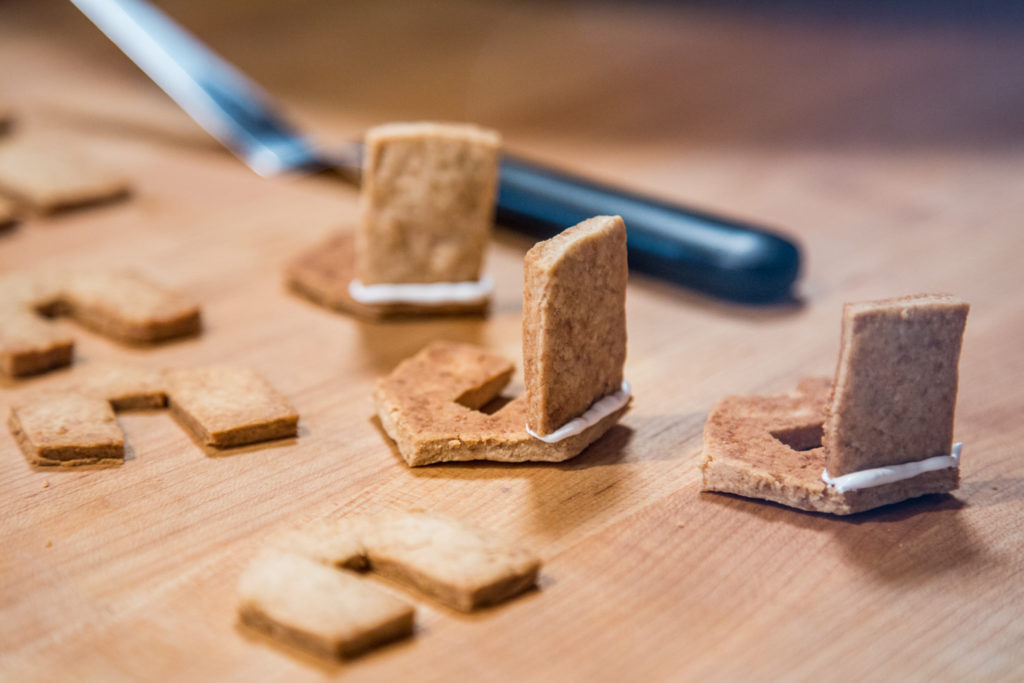
An engineer I am not. I think this is how my attempt at the gingerbread-and-Milk-Bone doghouse failed: I tried to put it together too quickly. I recommend following the original instructions about connecting one wall to the front of the house and allowing it to dry before moving on. It took about 15 minutes for our frosting to dry. You’ll need more frosting than you think.
Closing thoughts: Don’t these look like Wheat Thins to you? Or maybe graham crackers? As I noted in the ingredients, I’ll be using dark brown sugar and dark corn syrup next time – and I’ll be adding more spice. I realize this recipe is designed for durability and stability, not deliciousness. But if you’re like me, you still want to be able to make a few gingerbread man cookies on the side with some dough and actually enjoy eating them. This dough wasn’t tasty, and it wasn’t gingerbread looking. Perhaps I was looking for that ginger snap spiciness. I was a little bummed by the results. But then I got to play with the frosting, and I moved on.
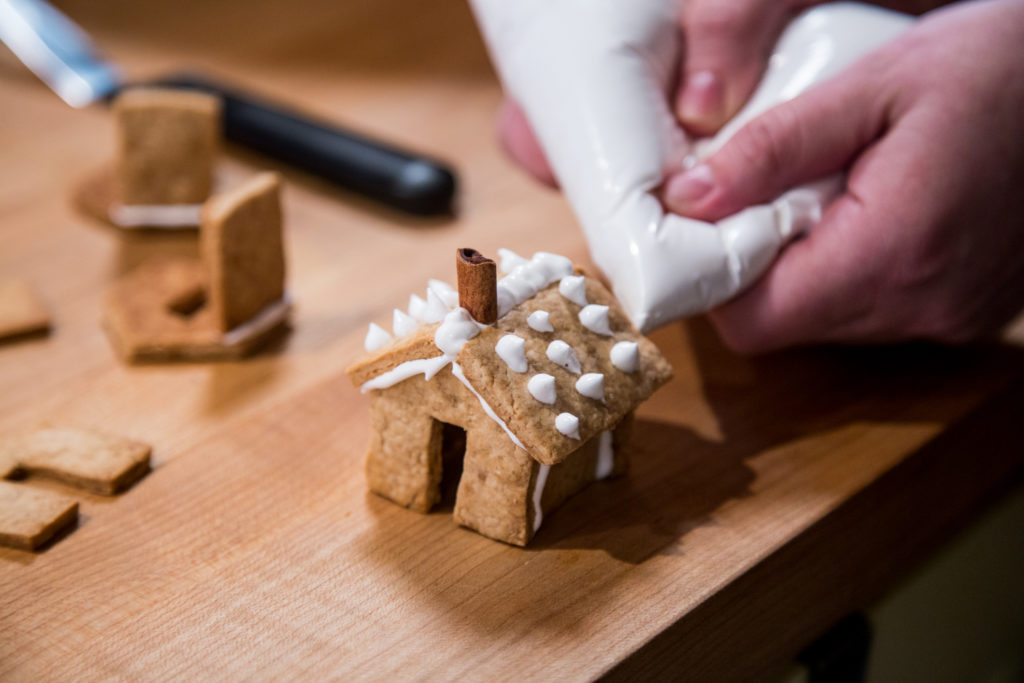
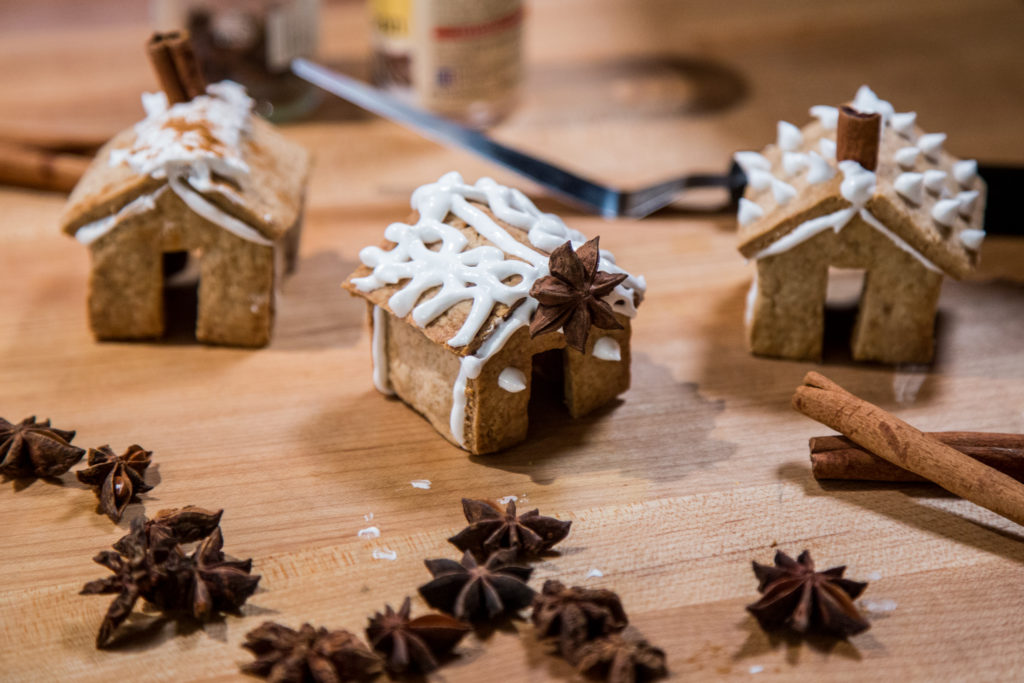
Once the first two parts are connected and dry, move forward with the house assembly and decorations. While I have a large supply of sprinkles and cake-decorating doodads at home, I brought none of it to my mom’s house where I was recreating this project. Thus photographer Becca and I had to get creative. Luckily Teresa had star anise and cinnamon sticks on hand in her spice cabinet, and they leant themselves nicely as architectural details.
If you’re thinking about making these miniature houses as a holiday project with friends or kids, don’t even worry about spending money on sprinkles or candies – dried fruit or nuts or chocolate chips would also make great decorations for this project. Alternatively, dig around your handbag for some of those red and white mints you grab while leaving restaurants. Unwrap them, put them in a plastic baggie and pulverize with a rolling pin. Voila, Christmas cheer dust for your gingerbread houses.
All in all, this was genuinely a fun project to do. Assembly took the most time, but I think that’s the point of making little houses, to spend time decorating these little homes so that each has a personal touch. Last year my mom and I took the Buche de Noel class at Central Market, and both the baking and the assembly were intense. These little homes weren’t a challenge; in fact, I was impressed with how they came out.
However, I wouldn’t eat them – they lacked flavor and were barely ginger-y. If you’ve got a good gingerbread recipe, please send it my way.






Follow Us