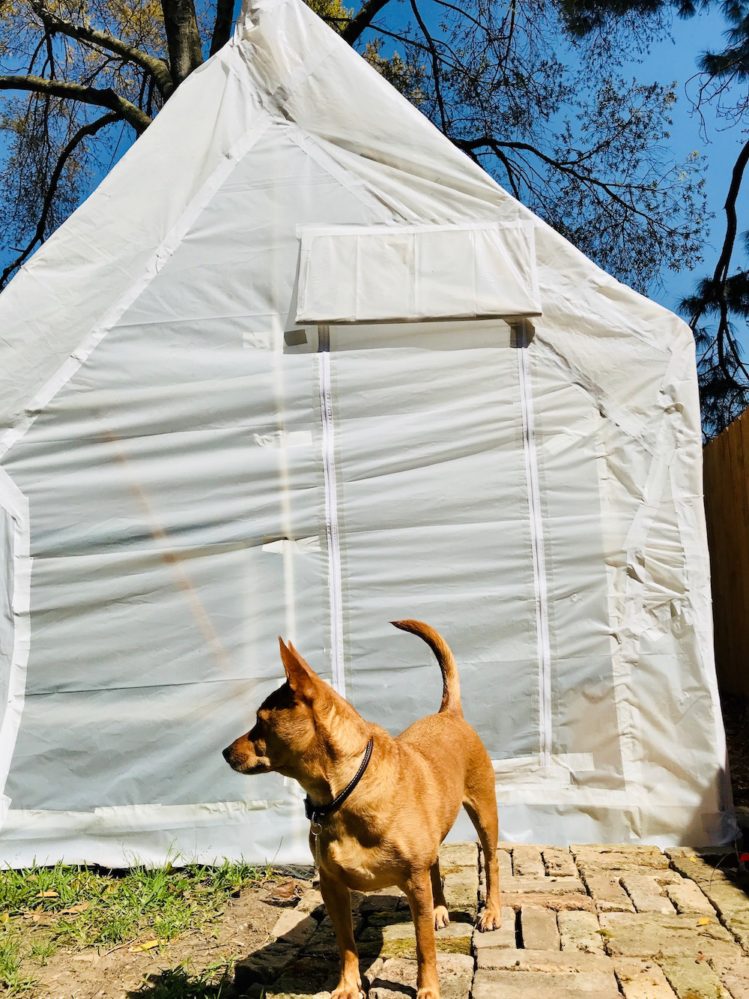
A few weeks ago we caught wind that between recipe testing and taking care of her baby, chef Madeline Cabezut Herd had built her own greenhouse in her Cypress, Texas backyard. Then we saw the photos – proof that this project was a success – and we asked her to share her blueprints. While she may have had an advantage over the typical backyard gardener (Herd’s husband oversees the build-out of restaurants) and was there to help. Regardless, Herd claims this is a project for weekend warriors. Below are her notes.
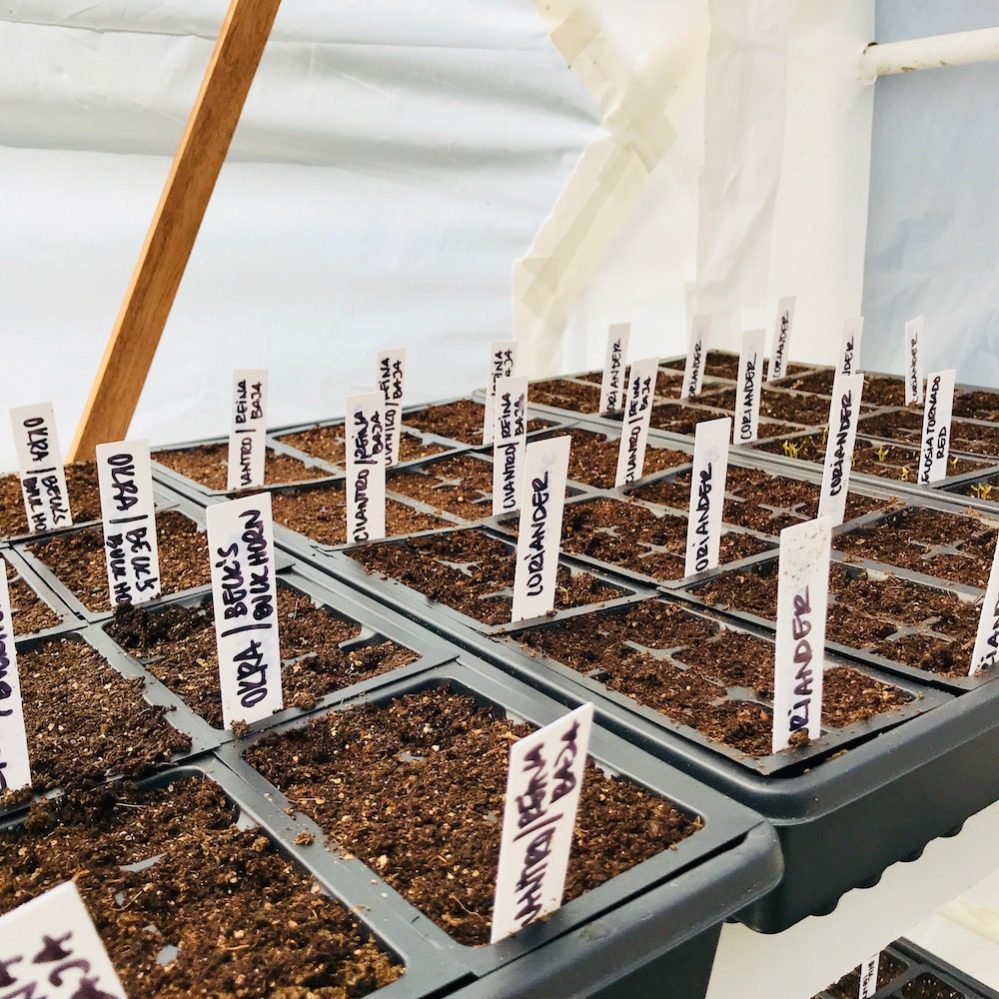
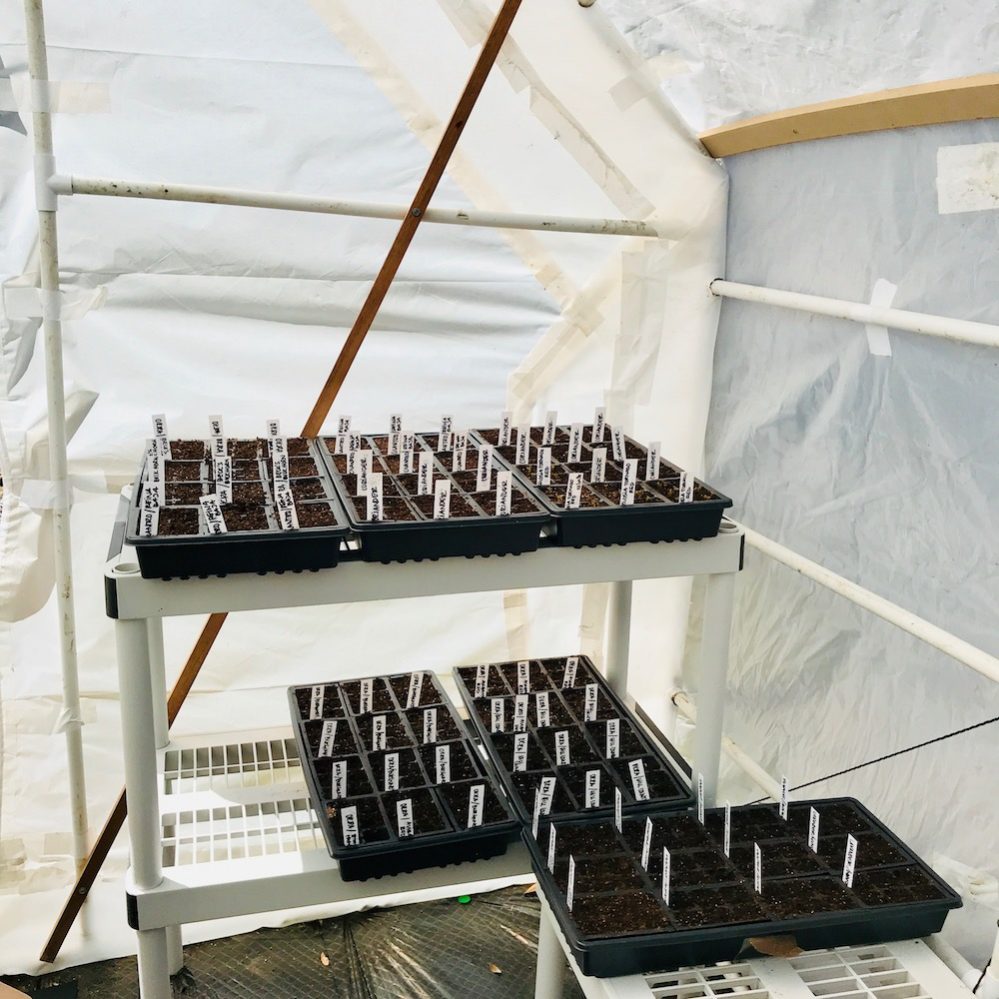
A month ago my husband and I were talking about starting a garden on our small farm. He mentioned looking into heirloom seed varieties. I found several sites with lots and lots of seeds but Baker Creek Rare Heirloom Seed Company not only had a great website but they sent a badass mail-order catalog from which I ordered an abundant amount.
So here I was with all of these seeds… I needed to plant them! I found lots of planting supplies on Amazon.com and my research online for greenhouse plans began; which by the way, I found out many people post pictures but very few share the plans, dimensions, and material list. The endless articles of the 10 best greenhouses led me to questionable sites. After countless pictures on Pinterest, I began putting something together.
Plan A
My original plan for a greenhouse was nothing extravagant and very small. When my husband looked at it, he smirked and said, “Didn’t you ordered 720 planting cells? You need a bigger greenhouse.”
So, with that said, I moved on to the hoop greenhouse design which in theory would have worked if I would have used T post on every joint to hold it down. Needless to say, it collapsed.
Plan B
Determined to tackle this greenhouse project, I decided to go at it by putting a little more thought into it.
First things first, look at the shadows: where is the sun shining full time in your yard? My yard is not very big. I measured the [sunniest] area and started from there. I moved away from the original idea of something quick and temporary to something a bit more permanent without gluing it (which you can totally do) yet that I could put away if needed.
Here is a PDF of what you need for a 10 x 7.5 greenhouse, although on this design you can actually go as small as doing a 3×7.5 house: Greenhouse material list.
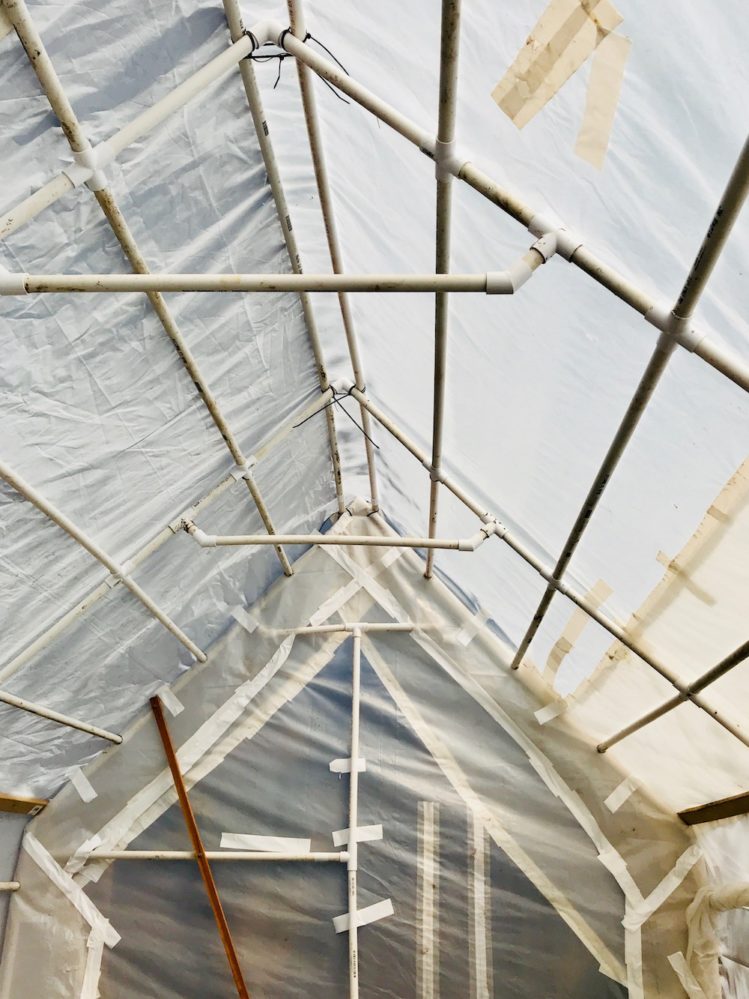
I made the front and back “walls “ first. Then I cut all of the pipe sections for the sides and top.
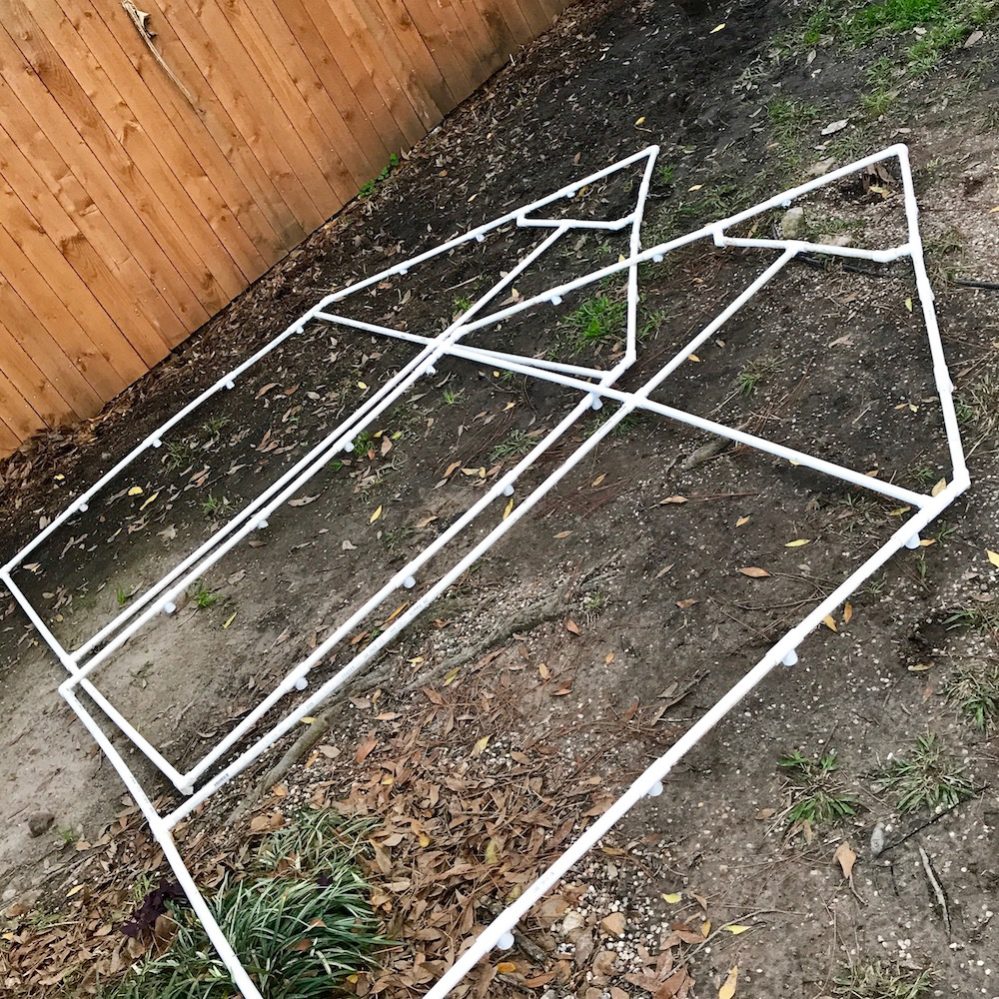
Then I assemble the middle tops and bottoms, separately.
I then joined the sides to the front and back wall while this was laying on the ground. (As in, making two halves.) And then turned them up and joined the two halves together.
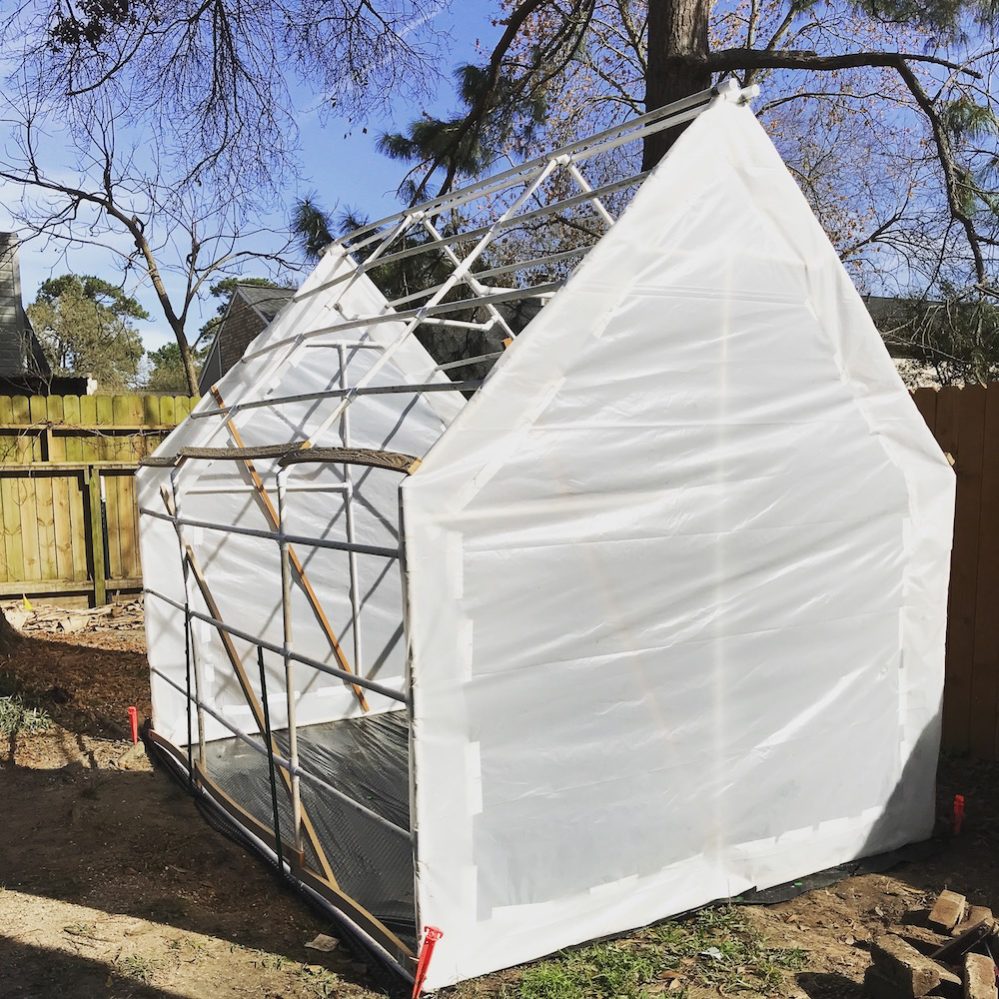
I laid down the weed-cover plastic on the ground. I placed the frame on top. I added 4 T post (you will need a post driver for this) on the sides and tied it up to the frame with rope. (You can also use wire.)
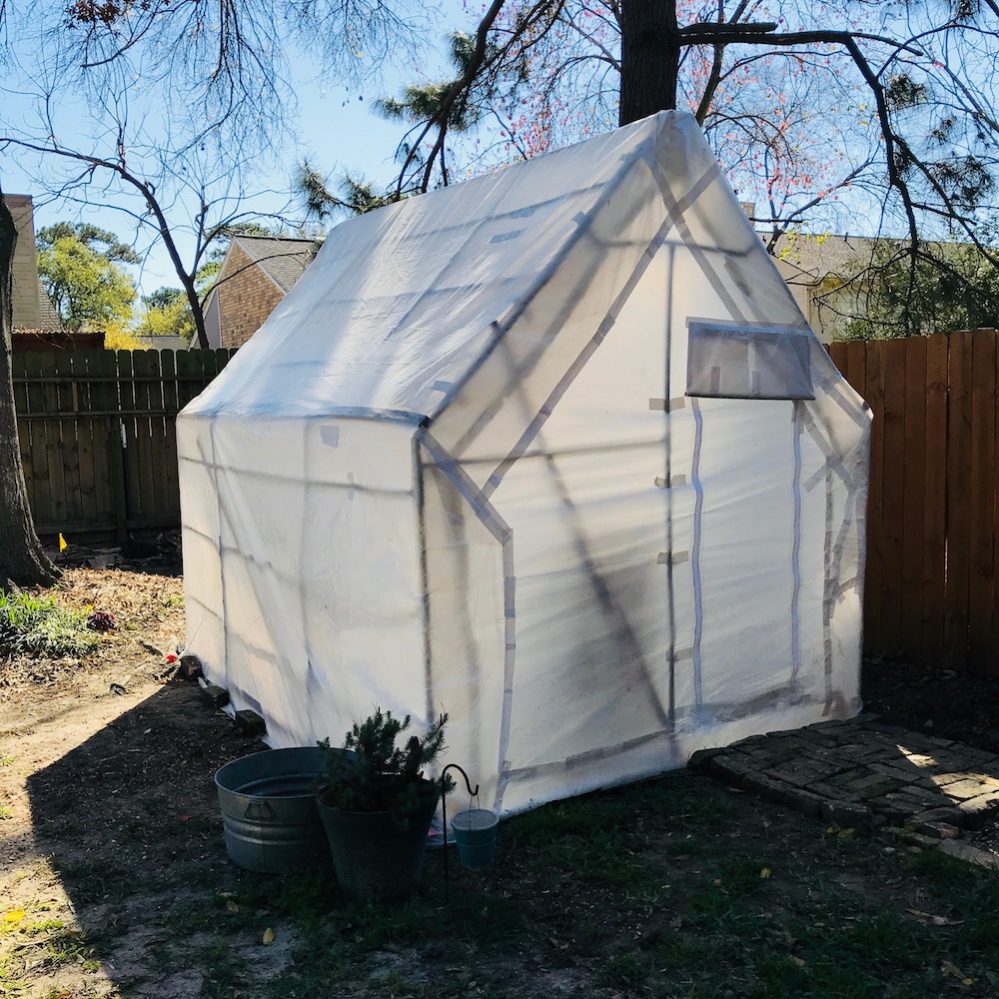
Finally, I covered the frame with plastic. I was originally going to zip tie it to the frame however 3M duct tape worked great! So it does look a little “Frankenstein-ish“ but is holding beautifully. I chose white duct tape.
I made a door and a small window using Zip Door tape which you can find at Home Depot in the paint section or ask for it at your preferred paint shop. Choose the spot and follow the instructions on the box. FYI, the zippers go on the bottom… Yes, you guessed it, I messed up but made it work.
And that’s it! Super easy weekend warrior project.
– Madeline Cabezut Herd


Follow Us